Automating builds with CircleCI and HockeyApp
Continuous deployment is tricky with iOS. There’s already several ways to do it and plenty of SaaS companies that can do it for you. If you’re daring, you can install your own Jenkins setup or just have Roboto do it for you. But for this post’s sake, I’ll help you get a running solution with CircleCI making builds that post to HockeyApp for you.
-
I’ll assume you already have a HockeyApp account, CircleCI account and a GitHub repository all setup. If not, you should probably start writing your app before doing this!
-
We need to export both your developer certificate and your distribution certificate along with their respective private keys. We will be encoding these private keys with a password. You should end up with 4 files,
dev.cer,dev.p12,dist.cer,dist.p12. The.cerfiles are exports of your certificates while the.p12files are exports of their respective provate keys. Make sure you keep the password the same for both private keys.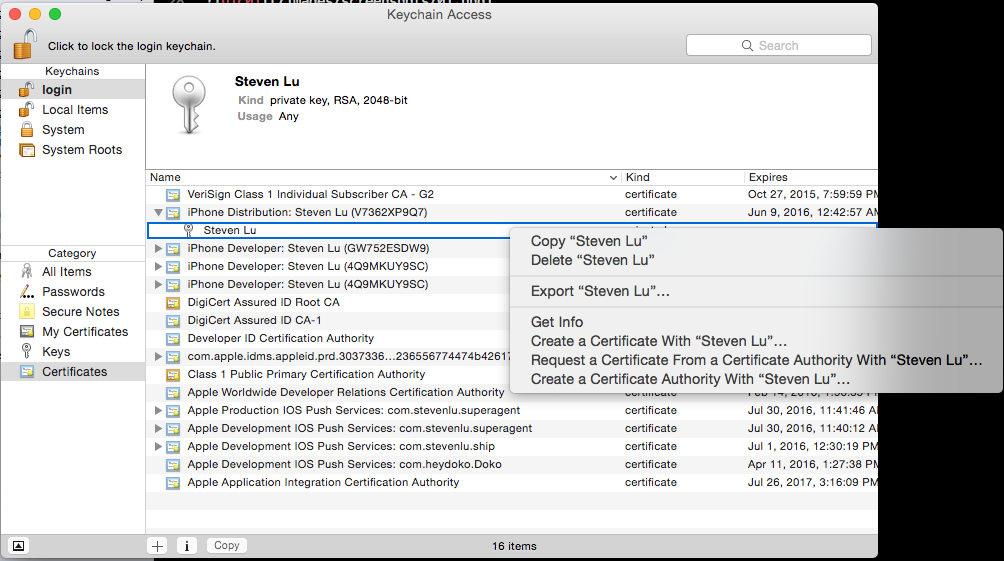
-
Make sure you create or make a copy of your adhoc
.mobileprovisionfile for your app. -
We will need to make an API key in HockeyApp so we can make uploads. This is not your app’s key.
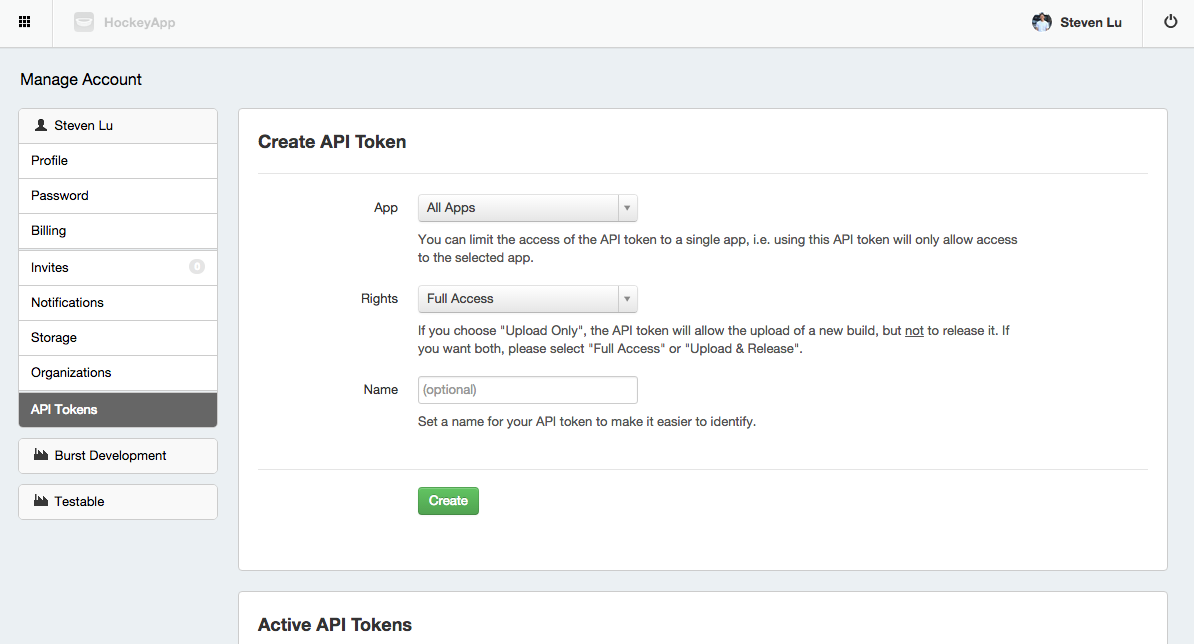
-
You need CircleCI to enable OSX build machines for you. They’re pretty friendly, so just ask them using their Intercom integration or just go here
-
Assuming that you have CircleCI setup on your GitHub repository, you need to enable “Build iOS project” in Experiemental Settings for that project.
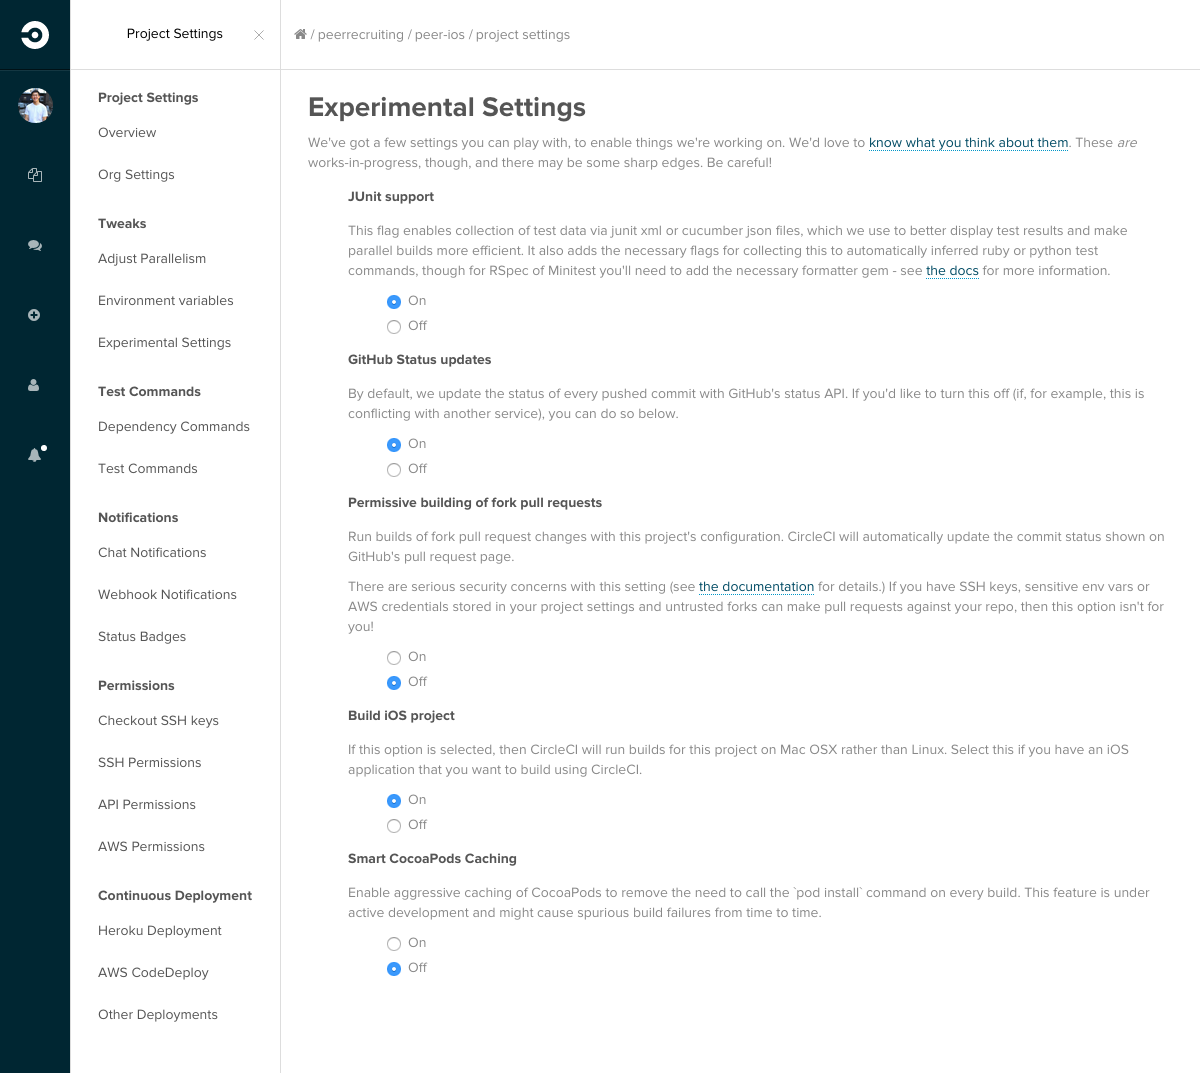
-
We’ll also need to setup two environment variables on CircleCI, they are
HOCKEYAPP_TOKENandKEY_PASSWORD, both which you created in steps before.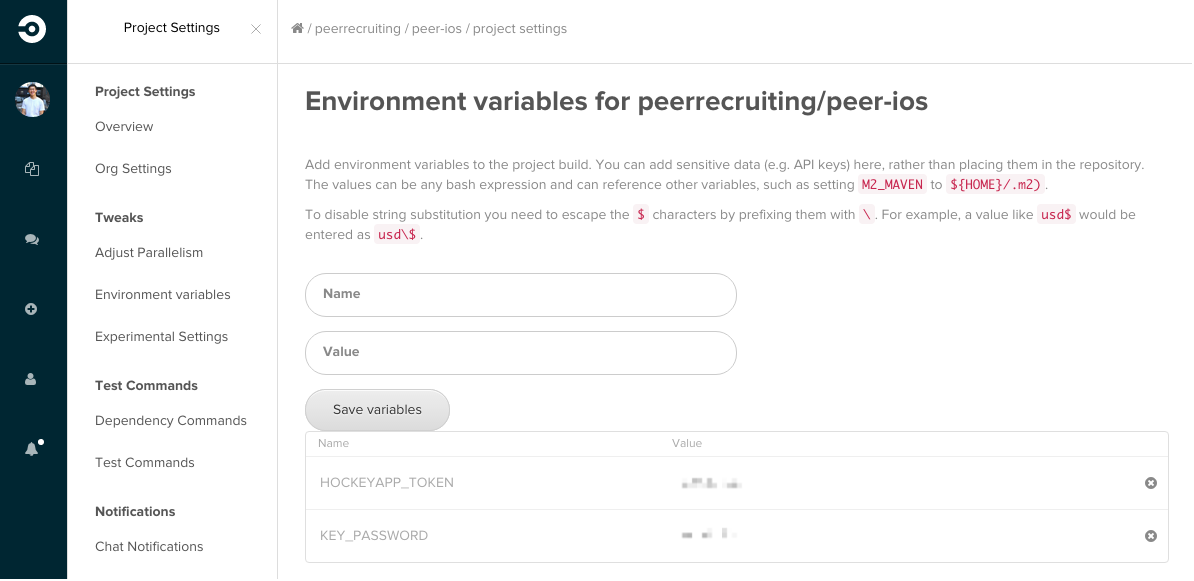
-
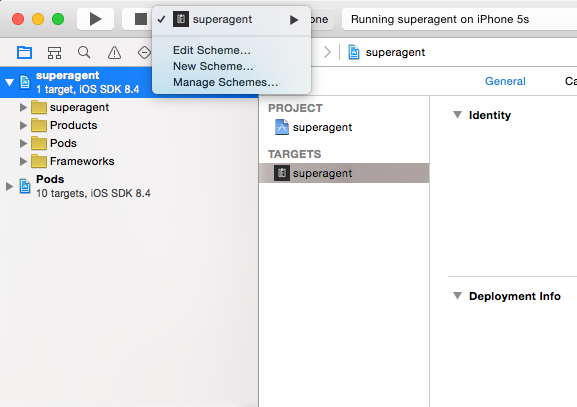
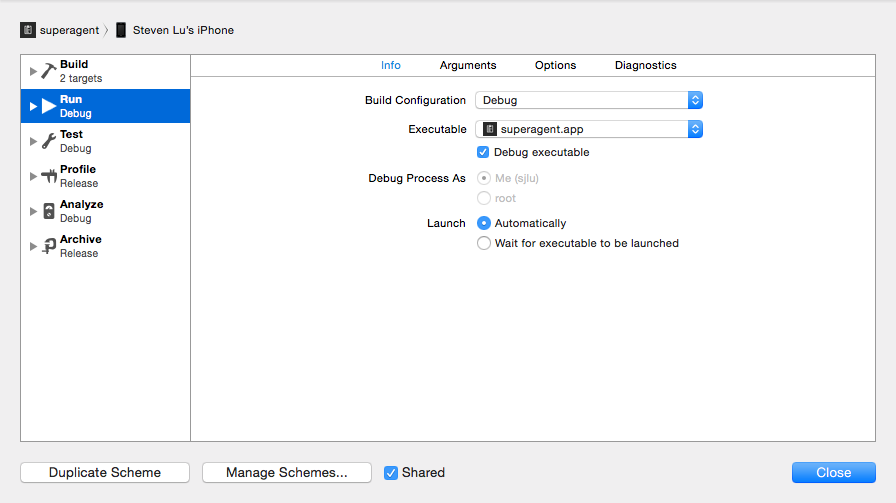
In order for CircleCI builds to work properly, you need to enabled Shared schemas. Do so by editing the schema and checking “shared” at the bottom of the configuration window.
-
I had to remove my testing phase in my schema because I didn’t have an appropriate wildcard App ID to build
appTestswith. If you want to also test with CircleCI, you’ll need to recreate your certificates with the wildcard. You may also need to remove this from your project also.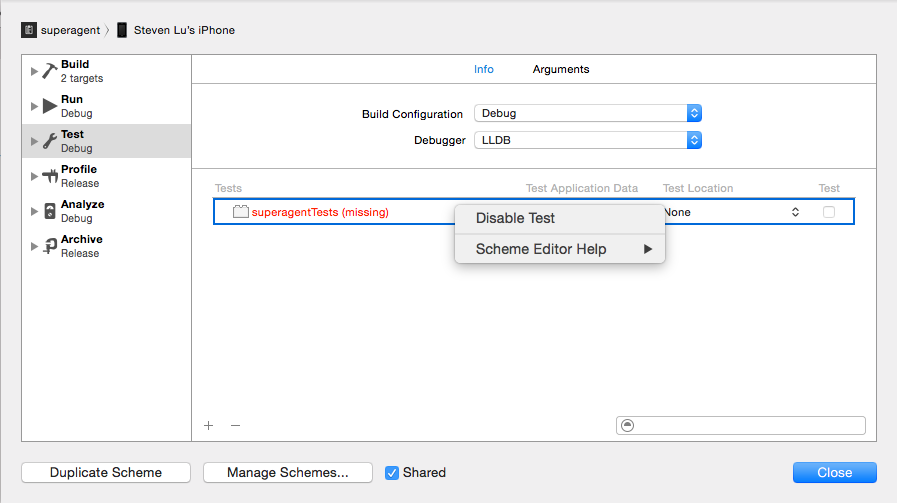
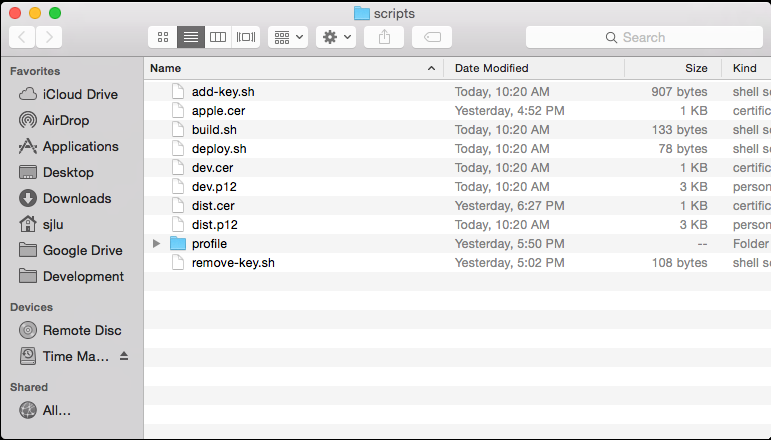
- Add the following files to your repository structure. Some of which you’ve already created,
some that you will create now.
- circle.yml
scripts/- dev.cert
- dev.p12
- dist.cert
- dist.p12
- add-key.sh
- build.sh
- deploy.sh
- remove-key.sh
profile/- app.mobileprovision
- Commit and push to start your first build.
Notes
- This is an adaptation from Mazyod and thorikawa. You may be able to find more answers there if you run into any problems.
- If you performed a verbose build, your actual errors may occur beforehand. Check the entire log to see where it actually errored out.
- I could not get my tests to build correctly as it failed to find an appropriate certificate/key
pair. I assumed it was because
com.stevenlu.superagentTestscertificate or App ID did not exist. I’m sure this can be fixed by creating a Wildcard App ID and its approrpriate certificates. - I had to update CocoaPods due to some weird code signing issue that persisted in the default version that CircleCI had.
- If you want auto incremental build numbers that don’t conflict, check out the line that’s
is commented out in
build.shand replace theInfo.plistfile location appropriately. - I was told that
remove-key.shisn’t really necessary anymore as each build is deployed on a new machine on CircleCI. I’d still keep it there for now as keychain password is simple. - You may need to bump the Xcode version if your app users a newer version of Swift, etc.
- Make sure your Code Signing & Provisioning Profile “Build Settings” are set to automatically pull whatever is on the machine or else it’ll just be another step when updating your provisioning profile.